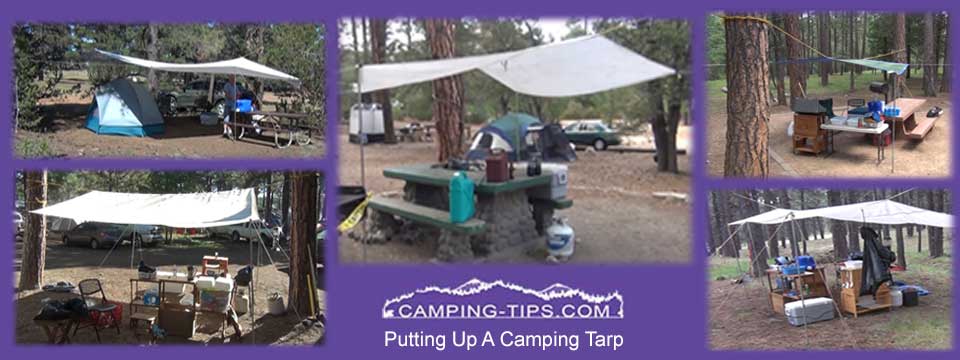
How to Put Up a Camp Tarp
Here is how to add the roof to your camp kitchen. If you have ever tried to cook in the rain, you'll know why that can be important. It should be noted the procedure is the same for large or small tarps. Small is fine if that suits your needs. Personally, I like a big one especially when it's done for a big campout. Here is an older video that really exemplifies the virtues of a tarp. ( It gets less instructional and becomes more entertaining at about time code 2:20. ) The first part shows you a lot of different ways to configure a tarp but the second part really demonstrates why you need it. This is my all time favorite video!
The virtues of having a camping tarp are obvious when it rains, but you may not realize that it's really nice to have one even when the sun is shinning as the tarp will provide guaranteed shade as well. At night, being under a tarp will result in a temperature increase especially if you have a lantern going. You can also situate a tarp as a lean-to if you need a wind break just by staking one side all the way to the ground. The real trick to a tarp is getting your rope high enough so the tarp doesn't sag too low.
1- Select Location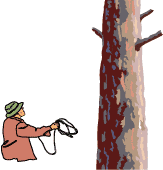
Locate a couple of trees the right distance apart with basically level ground in between them. Coil about 20 feet of rope and simply throw it up over a limb 12 to 15 feet high.
2-Wrap the Rope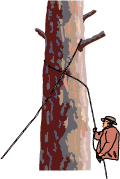
Walk the rope around the tree tightly, two to three times.
3-Anchor the rope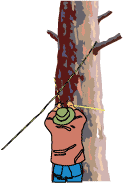
Tie the rope to itself or a lower branch or even another tree.
4- Check it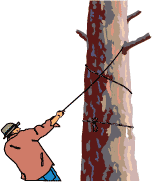
Giving it a good tug. It will have to hold the tarp even when the wind decides to gust.
5- Other Tree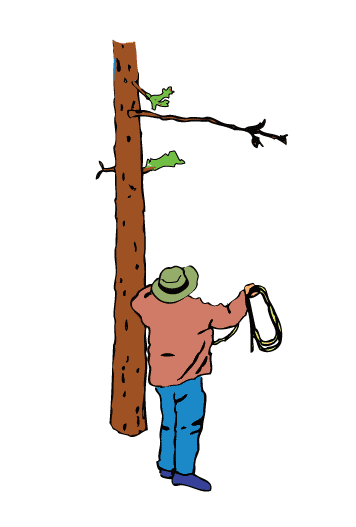
Throw the rope up over a good limb on the other tree but don't tighten it yet.
6-Position Tarp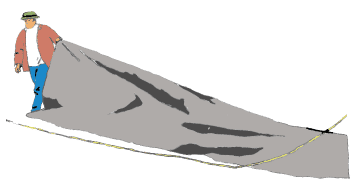
Walk the tarp over the rope so it is pretty much centered.
7- Secure Tarp to Rope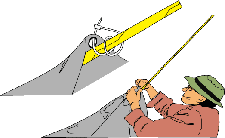
Secure the tarp through the center eyelid to the rope at both ends with a small piece of twine or a wire tie.
8- Secure Other Tree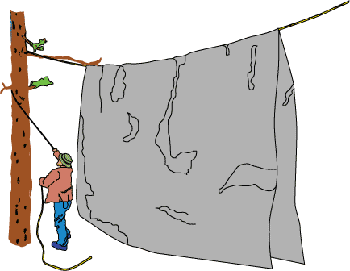
Lift the tarp tight, then wrap the tree and tie as in steps two and three.
9- Attach rope to tarp
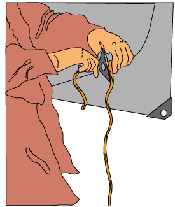 Tie twine or small rope to each corner eyelid and
10- Stake Rope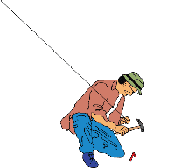
about six to eight feet away or tie to another tree or bush if available. (Use whatever you have.)
A simple tensioning device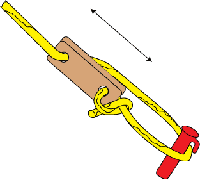
Drill a couple holes in a piece of wood. (Obviously this needs to be done at home.) The tension is adjusted by sliding it up or down the rope.
It's all about functionality!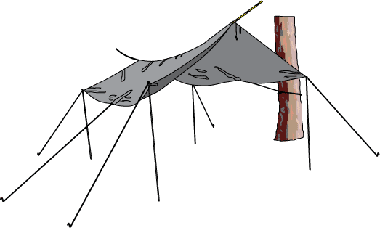
Don't worry about what it looks like. We usually have to improvise. Use what you have and make it work.
This procedure and others in our free
camping download package.
This is the one minute version of How to put up a tarp:

 Group Camp
 Camping Tips
 First Aid Kit
